This is an optional step, and is not called
for in the boat design. I decided to add the extra, lighter weight 6 oz cloth to protect and strengthen the hull sides. The
trade off is extra weight, time, materials, and expense. I like the idea of all the plywood on the boat being covered and
protected with a layer of fiberglass on both sides. I'll be adding the 6 oz cloth to both sides of the front and rear decks
as well.
Prior to fiberglassing the sides, I had to
prep the areas where the new fiberglass would overlap the previously applied bottom glass. This meant about 4 or 5 hours of
sanding with an orbital disc sander. I basically sanded the large, stitched threads off down to the surface of the glass weave
without removing any substantial amount of glass fibers.
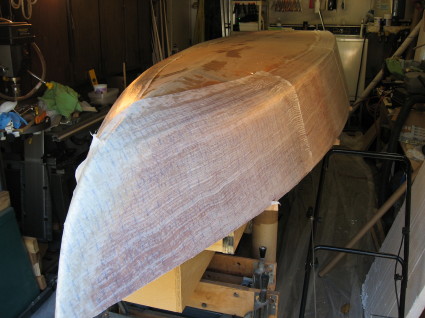
The 6 oz biaxial cloth used on the sides
overlapped the bottom glass by about 6-8 inches on the hull bottom and the bow. I completely covered the transom with the
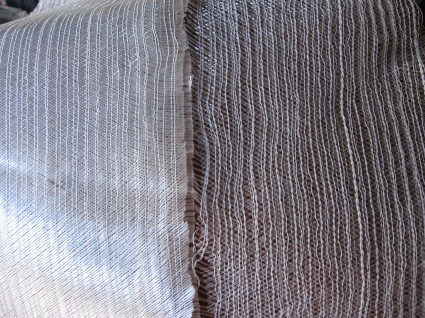
6 oz cloth as well. After working with the 12 oz fiberglass cloth, the 6 oz was different in that it was very loosely stiched.
You had to handle the 6 oz cloth more gingerly or you easily pulled threads out or displaced the weave. Here's a shot that
shows the differences in the thread density of the 12 vs. 6 oz biaxial cloth...
I didn't get any shots of the sanded hull
or applying the epoxy to the fiberglass on the sides. It's exactly the same process I described for the hull bottom. This
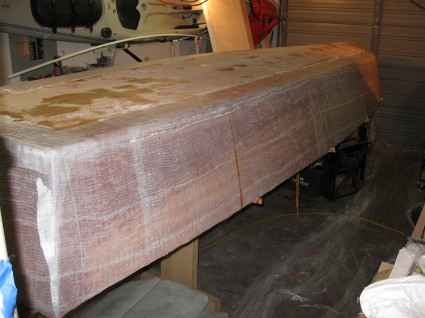
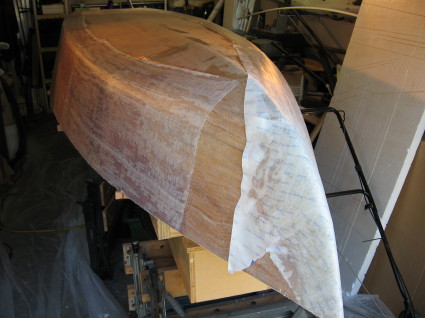
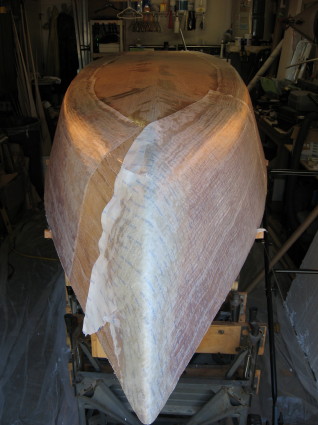
time however, I was able to apply the peel ply to the 6oz cloth. I simply cut the 60" wide peel ply in half to make two, 30"
wide sections that extended the length of the boat. As I applied epoxy to the fiberglass I would cover the laminated area
with a 3'-4' section of peel ply on top of the glass and squeegee the peel ply so it would soak up the excess epoxy. Here's
several shots of the peel ply on the side of the hull.