If you have the plans, the designer shows the inclusion of a small skeg running down the center
of the keel. Given that this is a shallow draft flats boat, there is a lot of discussion on the need for this feature. Leaving
the skeg off allows for a shallower draft by about 1". Including it, gives more directional tracking when poling and some
resistance to skidding while turning under power. For my intended use, I decided to include the skeg. My main reasoning is
from my experience of poling a canoe which had no keel features. Poling with any wind or current would cause a lot of course
corrections that would have been reduced with some sort of keel. Also, if I don't like it, I can remove it with some elbow
grease.
The skeg on this build is made of tight grained, knot free, cypress. The approximate dimensions
are 3/4" x 3/4" x 8 '. The fore and aft ends are tapered as shown below:
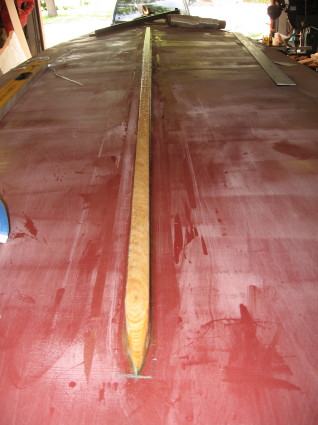
I positioned the skeg down the centerline of the hull by crawling underneath and using drywall
screws to hold it in place while the glue (epoxy & wood flour) cured. The screws were removed after everything cured.
. The centerline is easily defined on the inside of the hull where the unfinished plywood panels meet. I simply drilled several
pilot holes about 12" to 16" apart between the panel joints. You should place the skeg so the trailing edge is about 12" ahead
of the transom. The reason for this is to reduce bubbles and turbulence so the prop will be getting "clean" water.
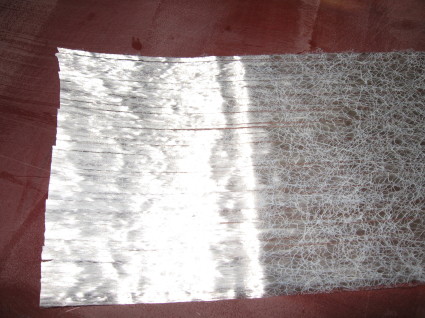
To provide some extra abrasion resistance, since the cypress is somewhat of a soft wood, I decided
to laminate 2 layers of unidirectional S-2 fiberglass over the exposed wood surfaces. The reason I chose unidirectional material
is so it would conform tho the "sharp" edges and not require a radius that would have to be built back up with fairing compound.
S-2 glass is a stronger fiber than regular fiberglass and it's used regularly in aerospace applications. In fact, one of my
first enigneering assignments was testing rocket igniter cases that were wound from S-2 glass.
Here are a couple of shots showing the S-2 Glass from the roll and a section of it applied to the
skeg before being saturated with epoxy...
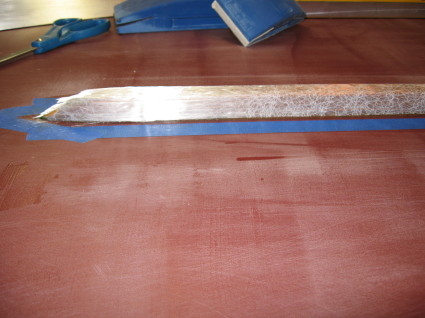
As mentioned, I applied 2 layers of glass. After the epoxy fully cured I lightly sanded the skeg
and put on a thin coat of faring compound to fill in some of the waviness inherent in the unidirectional glass. The first
picture in this section is actually a shot of the finished skeg before the fairing compound was applied. After the fiberglass
cured, I applied a fillet of fairing compound down the joint to smooth the transition from the hull & the skeg sides.
The radius is about 3/8" - 1/2". I used a piece of the plastic pvc pipe I had laying around from stitching the round chine
strips & used the pipe to create a uniform fillet. The pipe section also worked great as a sanding block to smooth out
the fairing compound after it cured. Just wrap a piece of sand paper around the pipe section and run it down the fillet radius
to smooth it out.
I'll shown some more shots of the skeg later after the hull has been primed.