I decided to apply a layer of 6 oz, plain weave fiberglass cloth (bias cut +45/-45 by me) to both faces on Frames A, B, & E. This step isn't specified by the designer, but I'm hoping the extra glass will help protect the wood from getting dinged and deeply scratched. The impact from a weighted jig head can leave a nasty ding in unprotected wood. Also, I witnessed the results of what cast net weights can do to gel coat on a production boat, so it was easier to provide a little protection now than to go back later and try to repair any damage. Here's a couple of shots with the fiberglass postioned on one face of the frames.
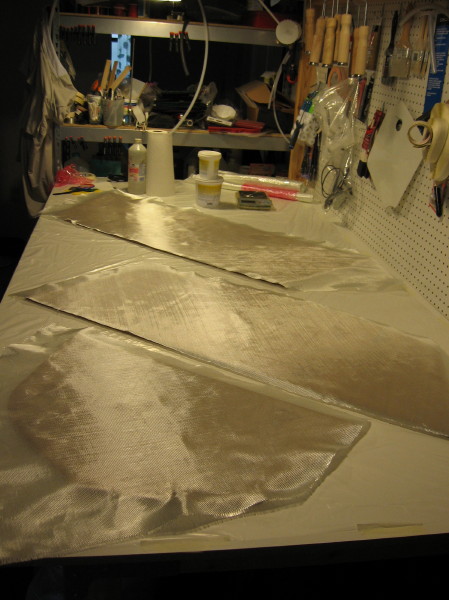
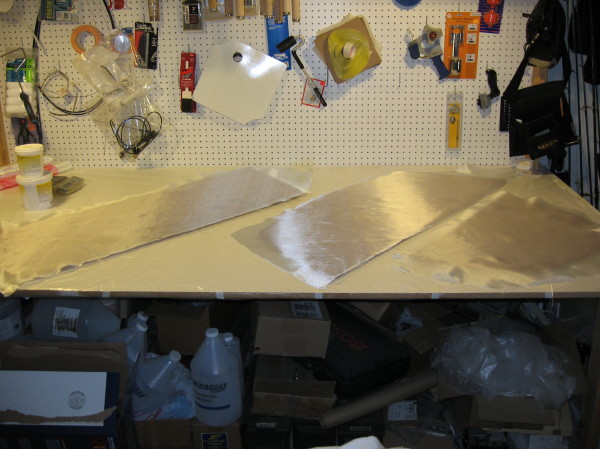
This is Frame E with one side glassed and the edges untrimmed...
Installing the frames is another no-brainer step. The frame faces should be perpendicular to the stringer tops and faces. Once the frames are in postition it's spot welding and filleting time. Here's a couple of before and after "cleanup" on some fillets...
"Before"... 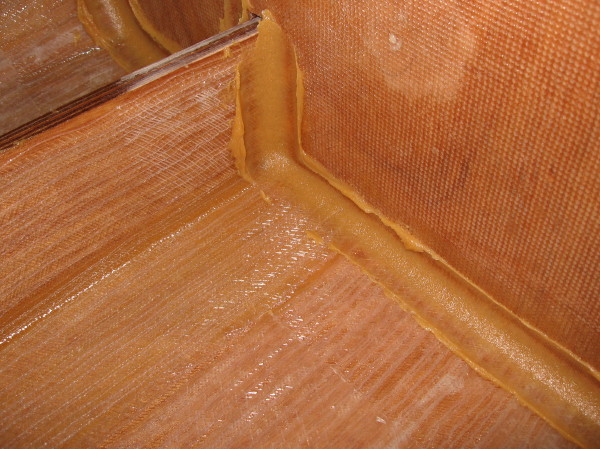
"After"... 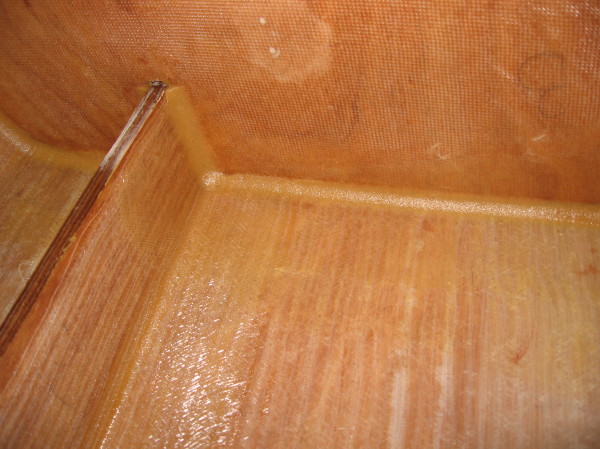
"Before"... 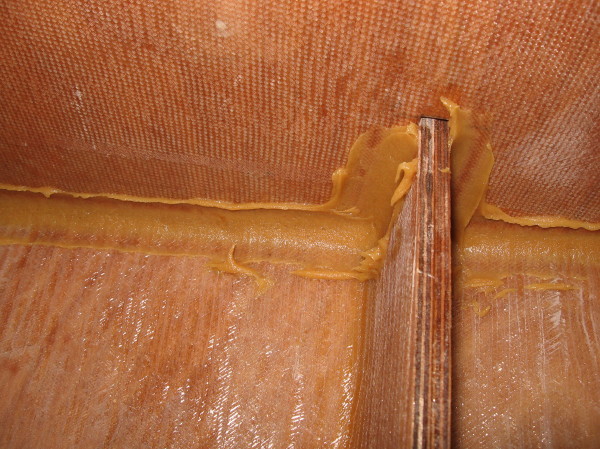
"After"... 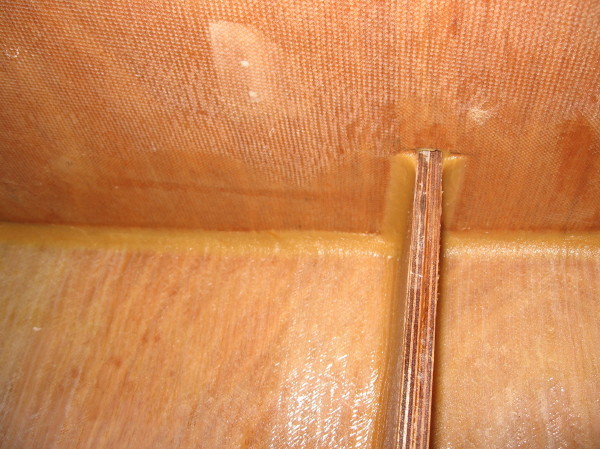
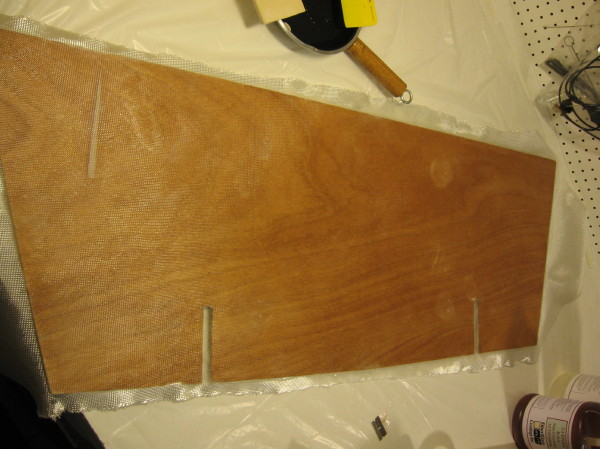
Here's Frame A with the access opening cut out. You need to leave 3" of material around the perimeter of the frame to maintain the designed strength for that frame... 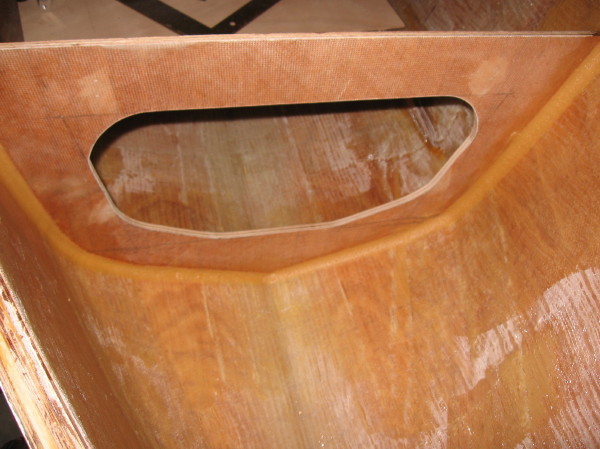
Here's Frame B with tape waiting to be epoxied in place... 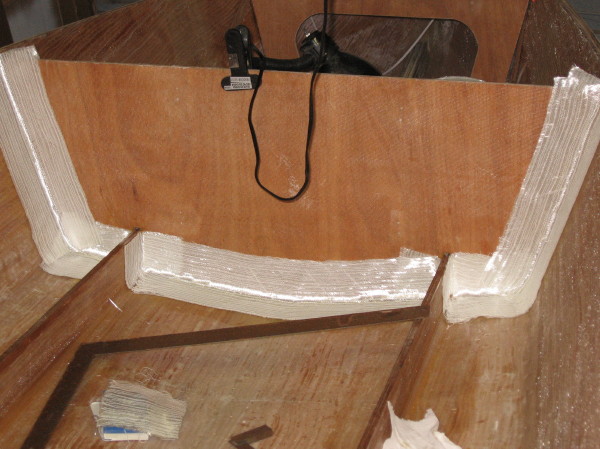
This is just a shot showing the "egg crate" layout of Frames C & D. The sole (floor) will be bonded on top the stringer and frames sections... 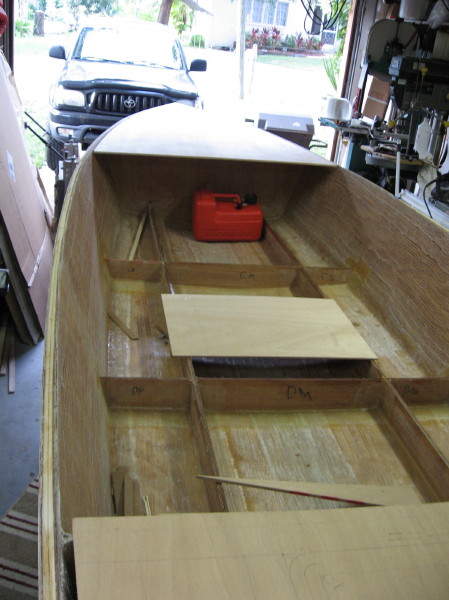
|